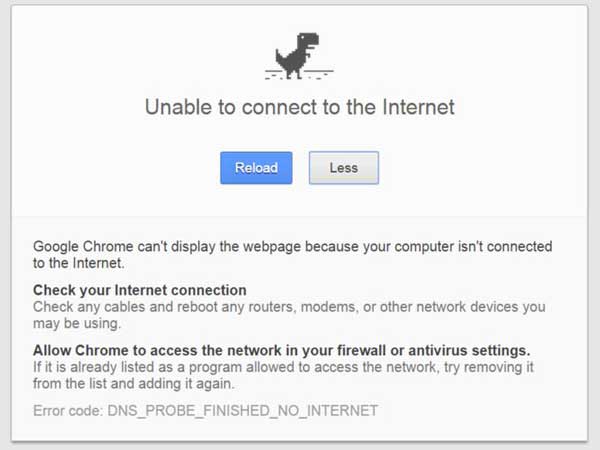
“DNS probe finished no internet” is most common error seen in various versions of Windows. This error occurs in the system when a problem arises with the default DNS server or with firewall settings. As we all know, Domain Name System (DNS) is a thing related to the internet and it will translate domain names into IP addresses. If this error pops up, user cannot access the internet. If you have ever got this error and suffered a great deal to access the internet's then you are at the right place. We will share with you some effective ways to solve this error.
Check Your Browser
This is the most common reason for the DNS Probe error to pop up. You will need to change the default browser to the others in the list like Mozilla, Opera etc. If your internet is working fine on these browsers then it implies that your default browser Google Chrome is having a problem. If other browsers are also showing the same error then the problem is not with the browser.If not the browser, then go check your firewall settings. You firewall may be behind this error. There are chances that the firewall is halting specific websites from loading, which leads to the blocking of that particular website and as a result the error occurs. So, before proceeding further, check with your firewall.
Change The Settings Of Your Modem/Router
If the above solutions did not work for you, then you need to check your router/modem. You need to restart your router and also unplug the power cable for a little while. After restarting, log in, go to system tools and click on reboot to reboot your router. If this is the reason behind the error, it will be solved instantly.
Command Prompt
Using command prompt to solve this error is like plug-and-play game. You can address this error by typing in the command prompt window ‘netsh Winsock reset’ and by clicking on enter.Change IP Address
If the aforementioned method did not work to troubleshoot the error, then check this method. Change your IP address as it might be the culprit behind this error. To change the IP address follow the below steps:- Open command prompt window
- Input ipconfig/release
- Press enter
- On completion of above process, input ipconfig/renew
- Press enter
- Input ipconfig/flushdns
- Press enter
- Restart the computer
Change DNS Address
You can also change DNS address. Below are the steps on how to change DNS address.- Click on the network icon on the taskbar
- Click on network and sharing center
- Click on LAN
- A new window will pop up in which go to properties
- Select ‘Internet Protocol Version 4′
- Click on properties again
- In newly opened window select ‘Use the following DNS server addresses’ button
- In the DNS server box, input 67.222.222
- In alternate DNS server box, input 208.67.220.220
- Check the box ‘Validate settings upon exit’ and click ok

0 comments:
Post a Comment